I'm sure you are wondering about that title - and I'll get to that in a little bit. But first, let's talk about Brioche! So Brioche is a classic French bread that is very rich and buttery! A lot of restaurants use Brioche to make French Toast because the bread has a nice flavor and absorbs the custard for French Toast really well.
My partner and I were a little tired of making plain loaves of bread and rolls, so we decided to use our Brioche dough to make Pains Aux Raisins instead! Before we could make these delicious little breakfast treats - we needed to make a few components. First, our brioche dough which had to ferment and proof like all of our other doughs and then we made Frangipane.
Frangipane is a nut filling and is traditionally made with Almonds. Other variations include Walnut, Pistacio and Hazelnut. We decided to make Almond which is very versatile and has a lot of applications in pastry.
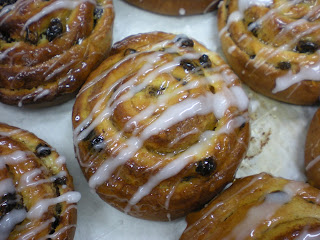
Once we had all of our components ready to go, we rolled our Brioche dough out and spread Frangipane over the surface. We then sprinkled on currants (we opted to use currants instead of raisins - so I guess technically these are Pains Aux Currant) and then cinnamon. We rolled this up similar to rolling up a cinnamon roll and then allowed it to chill for a bit so that we could make cleaner cuts in the dough to form our individual rolls.
After we baked the Pains Aux Raisin, we brushed it with Nappage (an apricot glaze) and drizzled Fondant on the top.

These were really fantastic and a welcome change from rolls & plain bread!
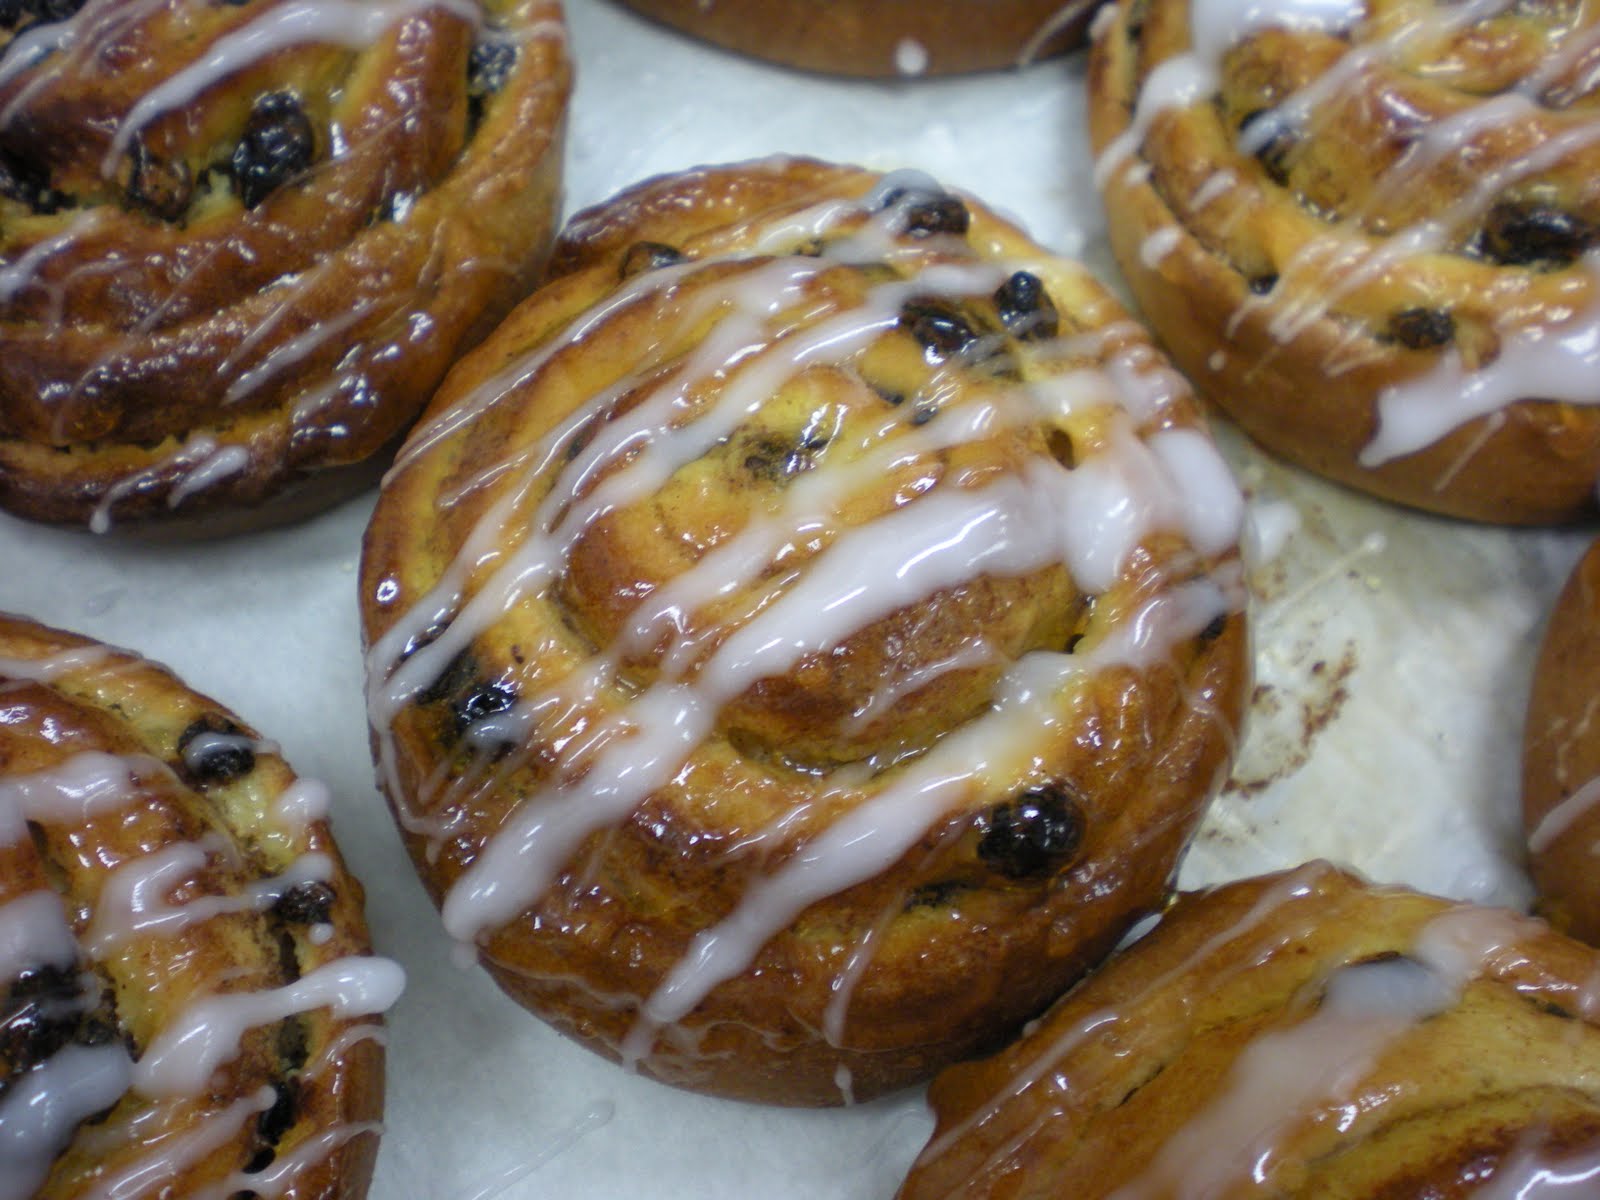
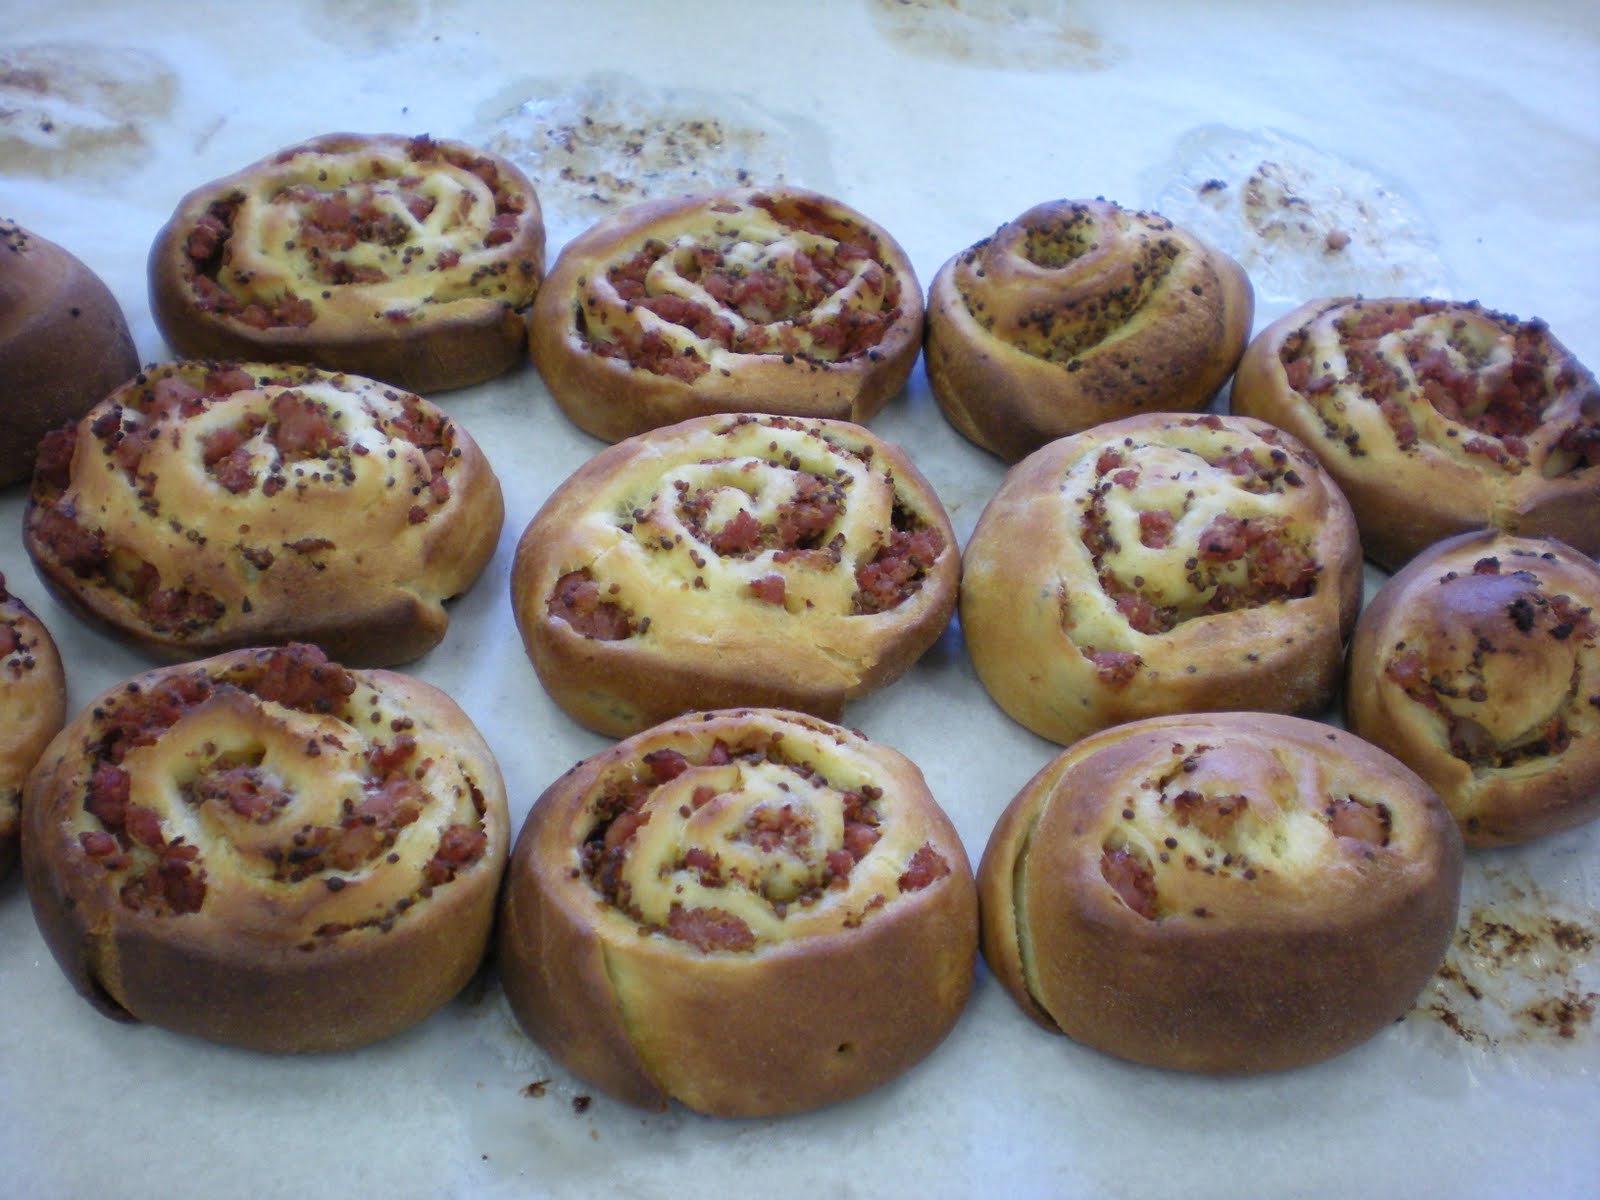
In a similar fashion, we made Saucisson En Brioche with the other half of our dough. This version was savory and we brushed our dough with whole grain mustard and sprinkled on crumbled, cooked sausage.

These would be great as a breakfast item or an appetizer! The mustard gave it a really nice tang!

After concluding our Brioche lesson, we moved into some classic Italian pastries - Sfogliatelle Napoletane and Cannoli. We prepped our doughs and then worked with them at various stages throughout the weekend.
And this is where we used Lard! Oh my goodness - did we ever use Lard! If you are a fan of Sfogliatelle (sometimes called Lobster Tales) you might want to skip these details because it may ruin your liking for them!
Ok. I warned you. So, Sfogliatelle is a layered dough that is somewhat like Phyllo or Puff Pastry. We used a pasta sheeter to make really, really thin, long sheets of the dough. Next, we brushed on butter and lard - on every inch of that dough - and stretched it to about 7 inches wide. Next we rolled the dough up into as small of a log as we could and repeated the process with our next piece of dough.
Once the second sheet of dough was good and greasy, we put our first log at the end of the second sheet and rolled the first log up inside of the second. We repeated this process 4 times giving us layers upon layers of really thin dough and fat.
You may be wondering why in the world you would need to have that added fat in between the dough?! Well, the reason is that when the finished product goes into the oven, the fat melts in between the dough and helps to lift and separate the layers as it bakes giving you a really flaky final product that is crispy as well. So it wasn't purely glutenous -
Ok, after the dough rested in the refrigerator for a while, we sliced it into thin rounds and then had to use - you guessed it - more lard to work the dough and separate all of those tiny little layers. We were basically trying to make something that looked like a clam shell that we could pipe our ricotta cheese filling into.
It's hard to describe what these looked like - and my hands were too greasy to consider getting the camera out to take a picture - but it will make sense when you look at the baked Sfogliatelle. So we piped the filling in and then folded the dough over the filling and put it in the oven.
BUT - before we put them in the oven, we had to brush them with more of the lard / butter mixture so that they basically fried in the oven. One final application of the fat was put on half way through the baking time.
Here is a close up of one of these guys - see all the layers and how they were fanned out?

For the first time since I started school, I didn't taste something I baked. I just couldn't do it - I don't mind butter, but I guess knowing how much lard and butter was in these things ruined it for me. Anyway, a few classmates tried them and said they were really good. I'll just take their word for it on this one! : )

Our second Italian treat were Cannoli's! They were a similar concept to the Sfogliatelle but the pastry part was not quite as involved. We used the pasta machine again to make our dough really thin and then cut them into rounds.
Cannoli's are deep fried so we put our rounds of dough onto a metal cannoli mold that goes into the oil with the shell on it to help it keep its shape. The interesting thing about Cannoli's is that the dough contains vinegar, cocoa powder and Marsala wine which I never knew. You can't really taste any of these individual ingredients after they are fried.
We fried our shells and let them cool off before we piped in our Cannoli cream - made of ricotta impastata, sugar, vanilla, cinnamon and chopped semisweet chocolate. I could have eaten this by itself - it was so good!!! Ricotta Impastata has a smoother consistency than regular ricotta which is why it works well in this type of pastry.
Here are the filled cannoli - I dusted them with powdered sugar as well before I shared them with some friends but didn't get a picture of them. Some other decorative options were dipping part of the shell in melted chocolate before filling or putting chopped pistachio's on the ends of the filling. I liked mine a bit "plane jane" and thought they tasted fantastic!

Our next major category of Pastry is Tarts and Pie doughs. The first dough we made was Pate Brisse which is a dough that contains no sugar so it can be used for savory items or sweet. This dough was tough to work with because it is meant to be very flaky and tender so it doesn't have much structure to it and can be very crumbly.
Rolling this dough out for our Fruit tarts was a challenge and required much patience! The taste of this product made it worth the struggle, but from what Chef tells us - there are other doughs that are just as delicious and more user friendly!
Anyhoo, we used our Pate Brisse to make fruit tarts - we made an 8 inch tart that we filled with Vanilla Pastry cream before topping with fruit and then we made individual tarts that we filled with Orange Curd and topped with fruit. Other groups made Lemon or Lime curd but I made orange.
I filled three of my tartlettes with pastry cream and the other three with the orange curd. This is before I glazed them with nappage.

Here is my 8 inch tart - pre glaze.

Ta-daaaa!!! See what a difference brushin a little apricot glaze does for this!
And the little guys too!

These were a nice treat too and something I think I will make in the future - even if it means a struggle with Mr. Pate Brisse!


 Here you can see all the rich layers. Fudgy chocolate cake, praline ganache filling, vanilla buttercream frosting covered in a ganache glaze.


 (I just love that picture!)


